In this tutorial, i will tell you how to install Node.js on window but before going with installation you should know about Node.js so click here to know What is Node.js Installing Node.js in Windows
First you will have to download the installer that is available on Node.js website
If you need more option for downloading windows installer according system requirement then Click here If you have 64 bits version of window then i suggest to take the 64 bits version.
Now launch the installer :
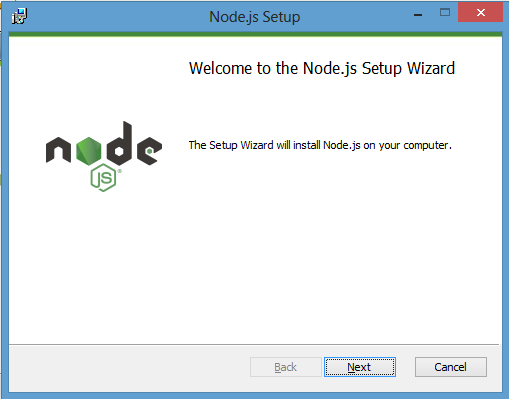
Once you launch the installer you will have to follow setup wizard : (See next figure)
In second step, you will be asked for License Agreement, accept agreement and click next :
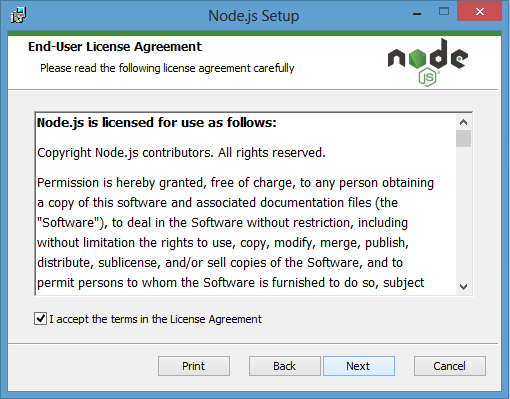
After agreement acceptance, you will see a wizard for choosing custom destination folder but i recommend just leave as it is and click next :
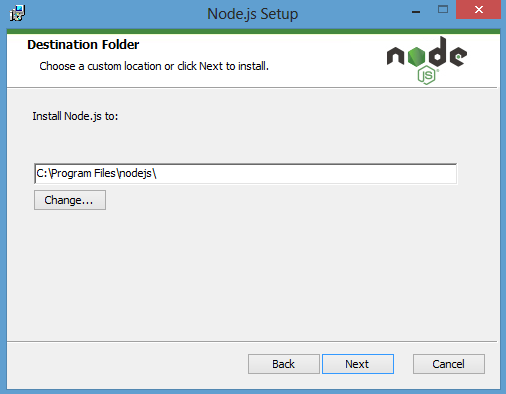
After following all previous step you will ask ready to install node.js, if you don't want yet to install then click cancel and exit the wizard but you want then click install :
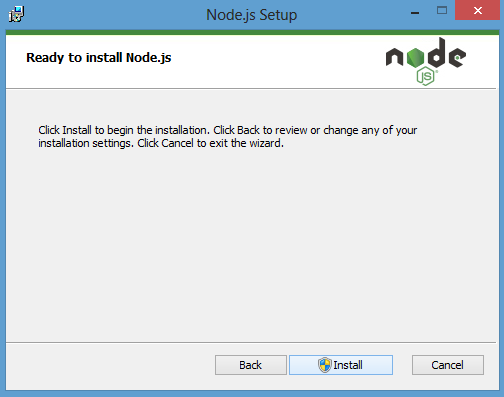
Now after waiting sometime you will see progress of installation wizard :
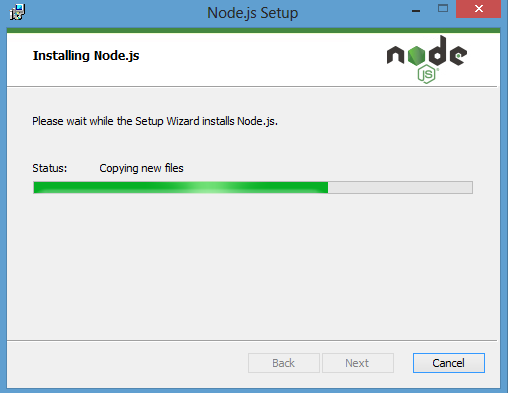
It will take few second to complete the Node.js setup wizard.
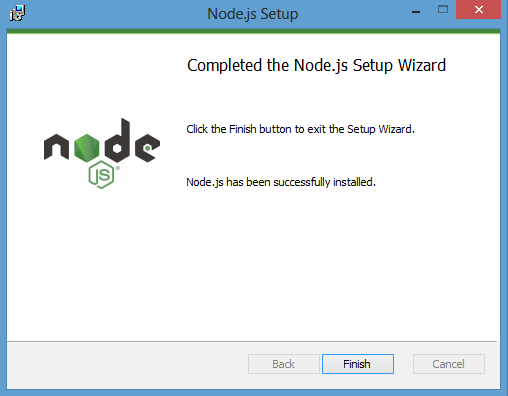
To make sure Node.js has been installed or not if installed then how it work ?
Open your command prompt and type node :
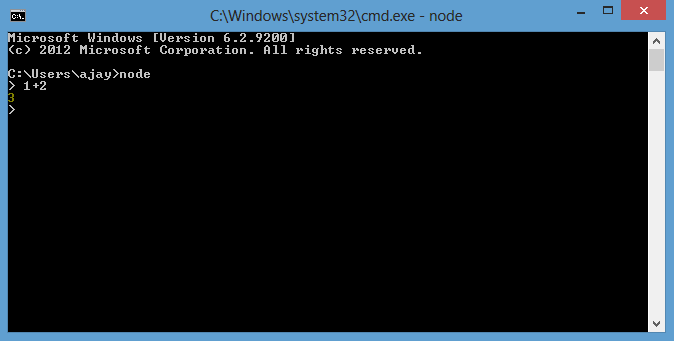
If you want to exit from interpreter then press Ctrl + D or press Ctrl + C two times.
Create your first application in Node.js in Windows Environment


